


Fast delivery. Thank you very much!
Thank you very much!
This is the best flour that we have used. We do all of our cooking from scratch and are very impressed with the quality of this flour. We also appreciate the fact that we can buy it in larger than standard amounts as we use it up very quickly. So glad that we found this.
Thank you so much for taking the time to share your experience! We’re truly happy to hear that you’re enjoying the quality of the flour and that it meets your needs for scratch cooking. Offering larger formats for professionals and passionate home bakers is very important to us, so it’s great to know this makes a difference for you.
We sincerely appreciate your trust and are glad you found us. We look forward to continuing to support your baking and cooking projects!
— Zucchero Canada
The beans we wanted were not available…. We’re having to get used to this flavour.
Hi Chuck,
Thank you for your feedback. We apologize that the beans you were looking for were not available. We understand that it can be disappointing when your preferred choice is not in stock. We hope that you will still enjoy the flavor of the beans you received. If you have any further concerns or questions, please don't hesitate to reach out to us. We are always happy to assist our customers. Thank you for choosing our product.
Best regards,
Customer Service Team, Zucchero Canada
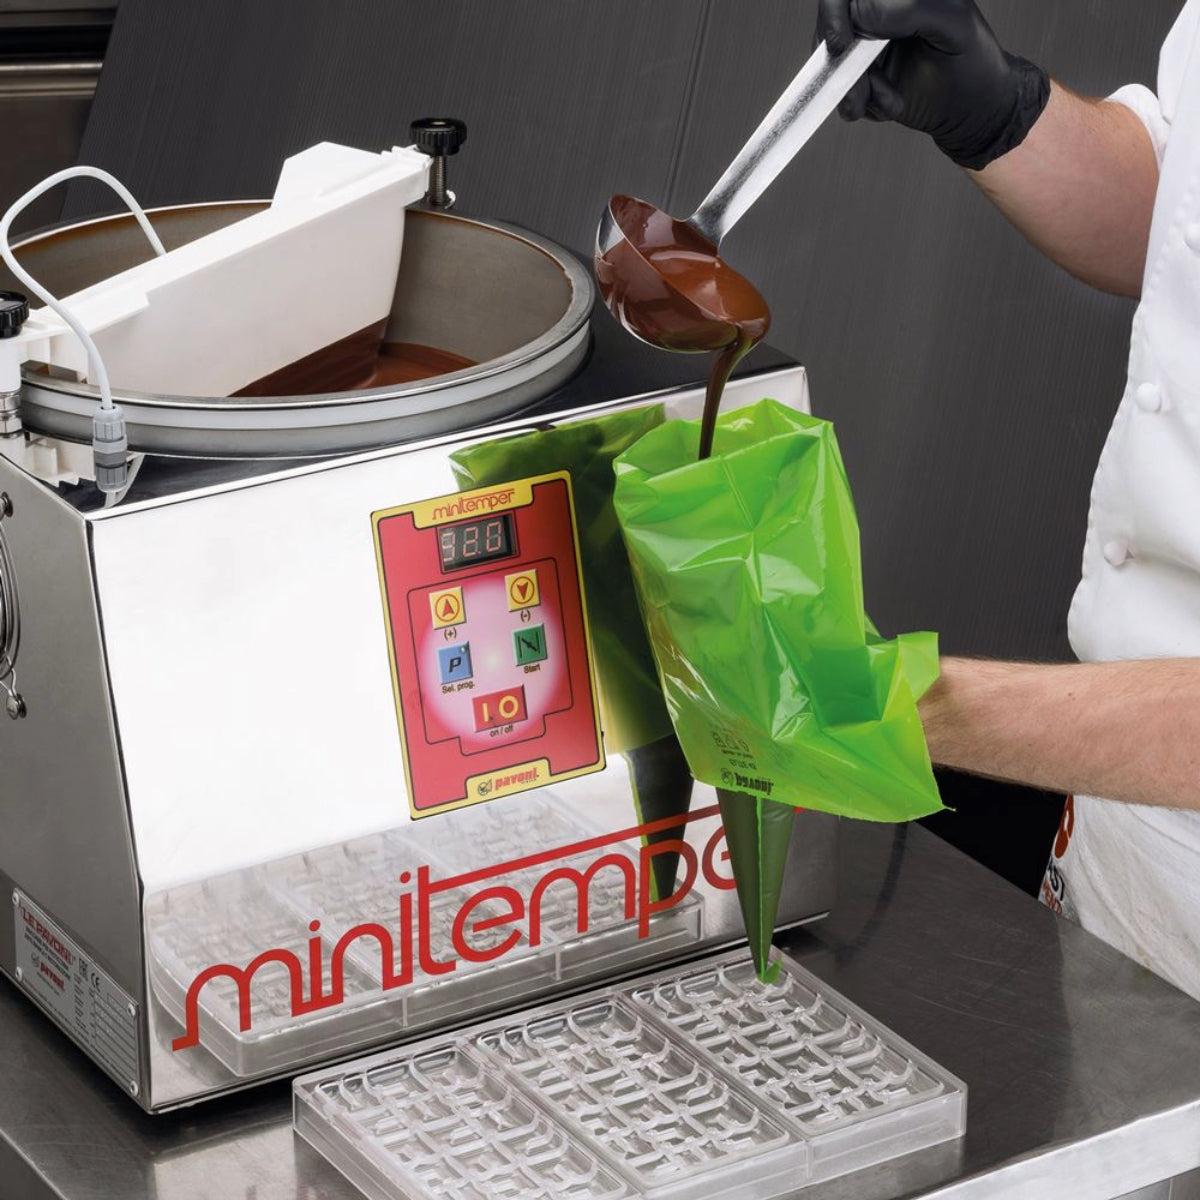
I purchased a 3.6L digital chocolate melter and although it took longer to an expected I did receive my purchase. Kati was fantastic and quick to respond to my inquiries. She updated me every step of the way, as well compensation for the unexpected wait time. I am happy that I choose Zucchero Canada, the customer service was top notch with a superb product quality. I will definitely order again sometime.
Dear Kristin,
Thank you so much for your kind words and for choosing our 'Digital Meltinchoc' Chocolate Melter 3.6 L! We are thrilled to hear that you had a positive experience with our customer service and that you are satisfied with the product's quality. We apologize for the longer wait time, but we are glad to know that Kati was able to assist you and provide updates along the way. We truly appreciate your support, and we look forward to serving you again in the future.
Best regards,
Zucchero Canada Team
very good
Hi Daniel, thank you so much for your feedback! We're glad to hear that you enjoyed our Cocoa Beans Carenero Superior from Venezuela. We strive to provide our customers with high-quality, raw, and vegan products. Thank you for choosing us! Happy snacking! :)