
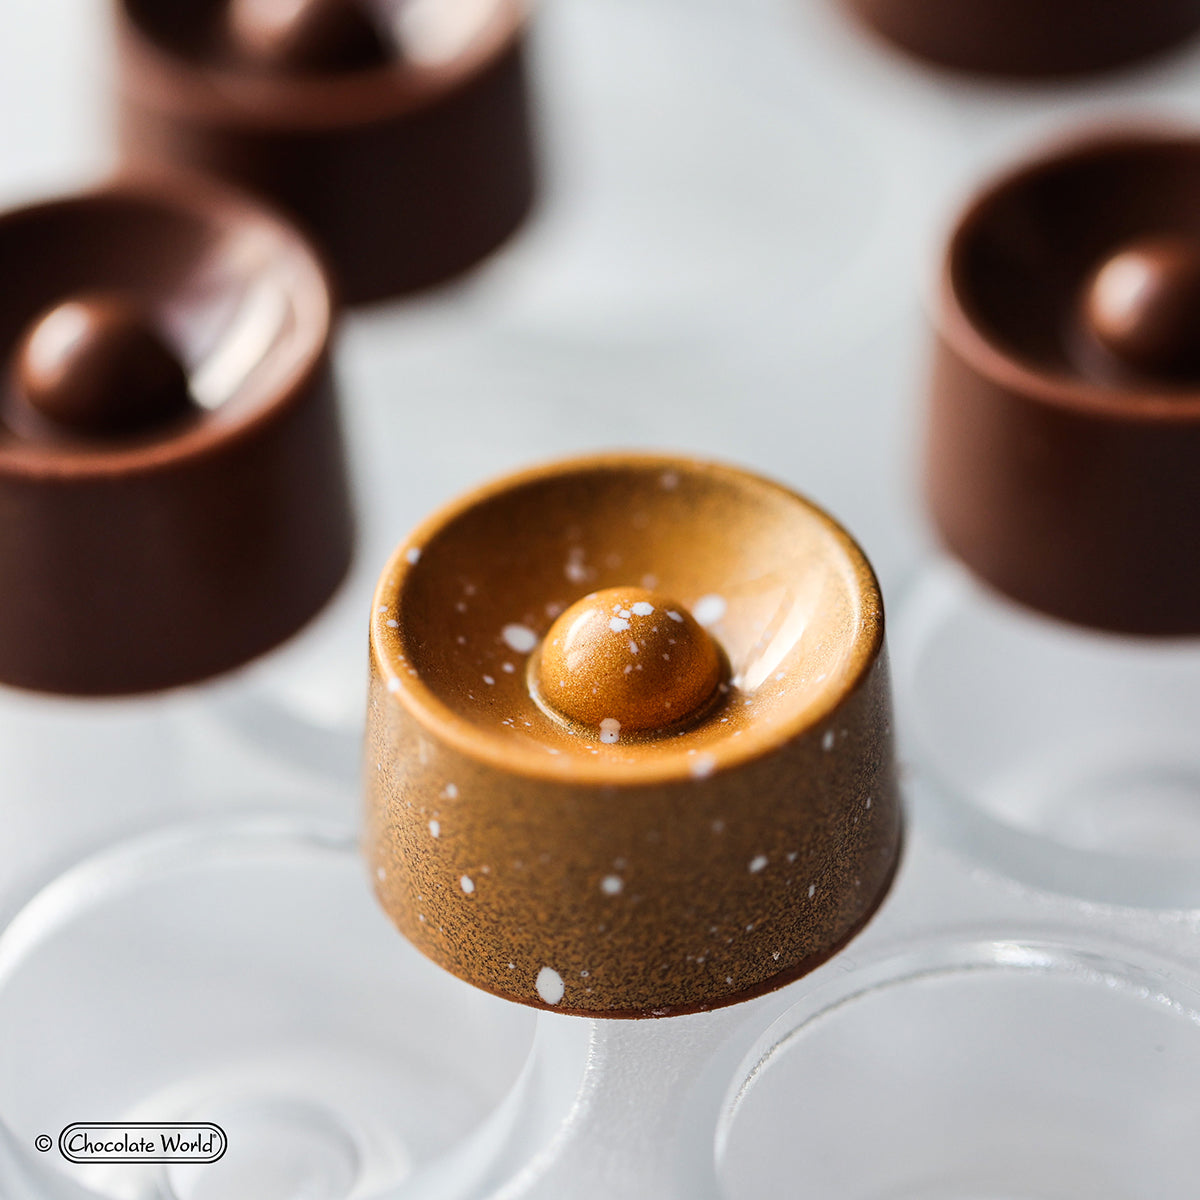
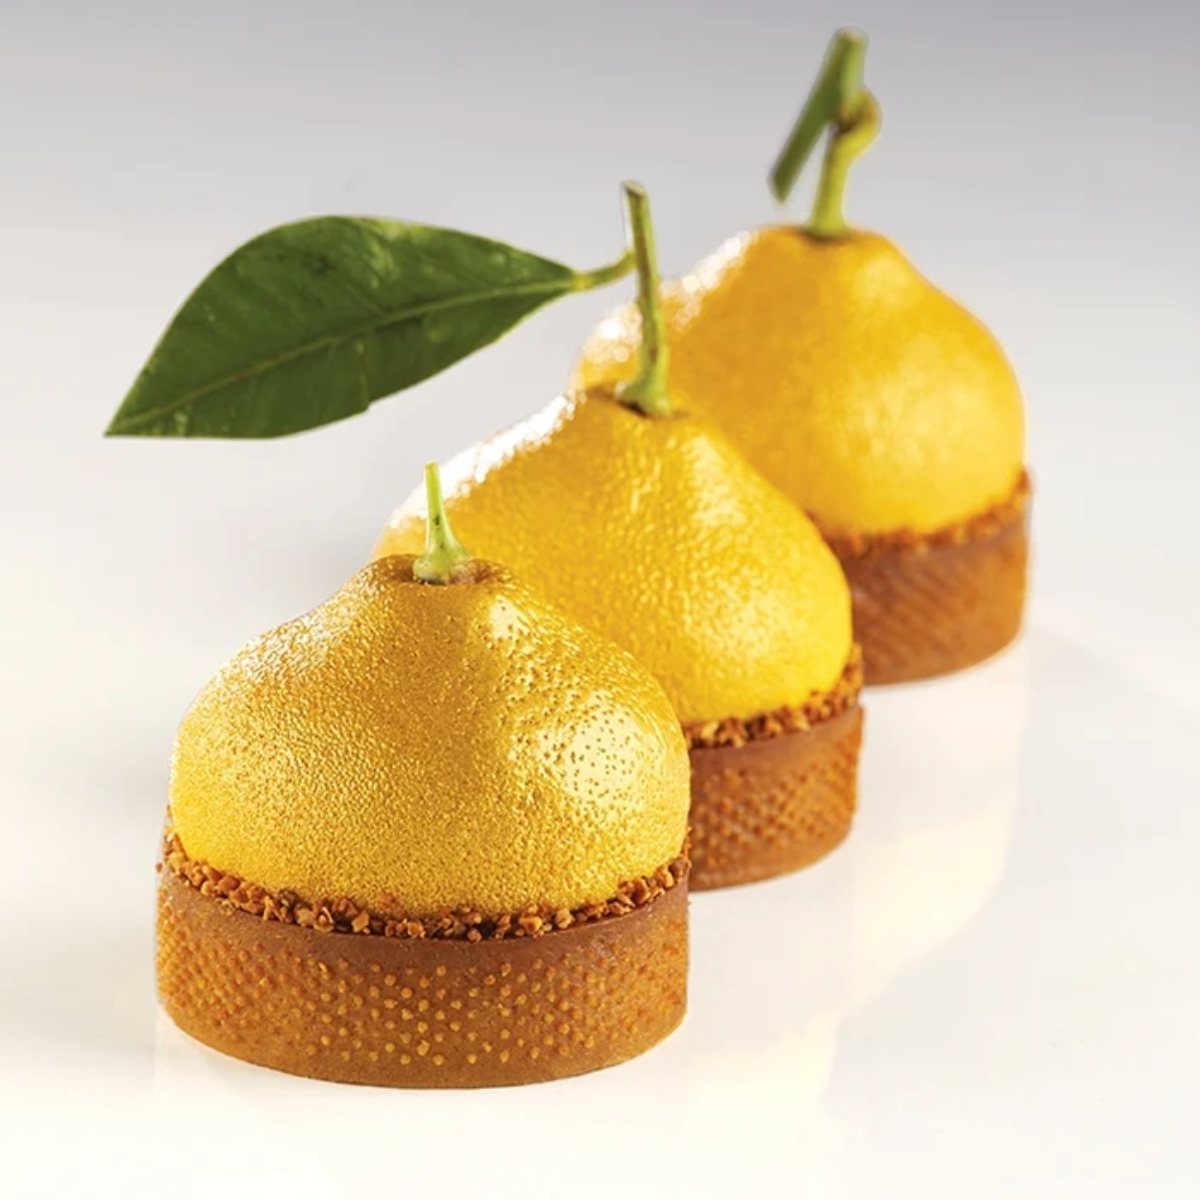
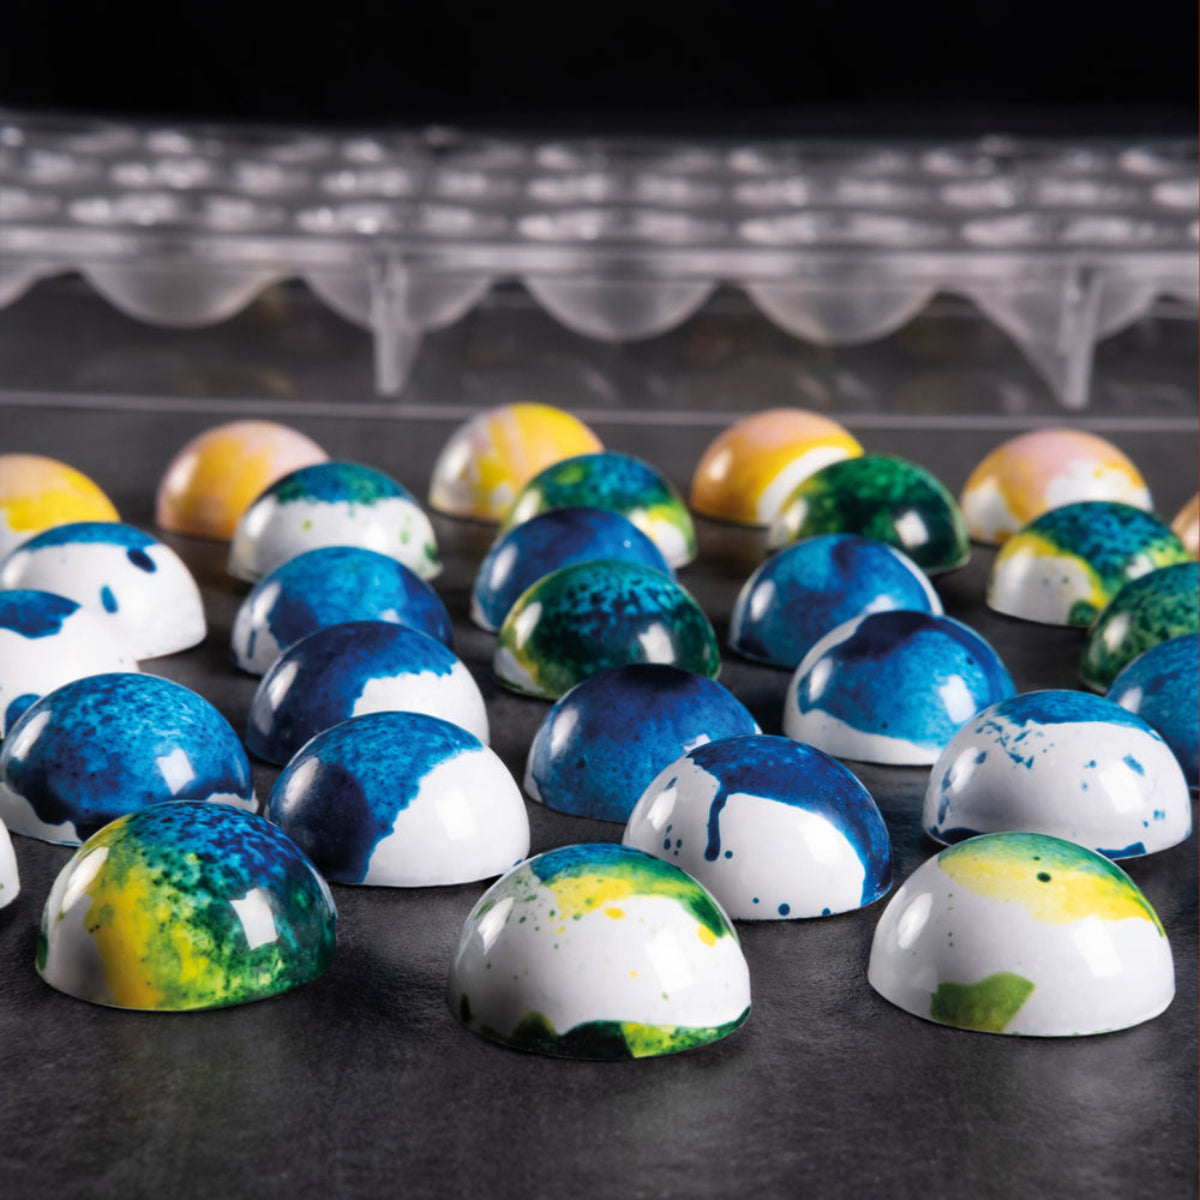

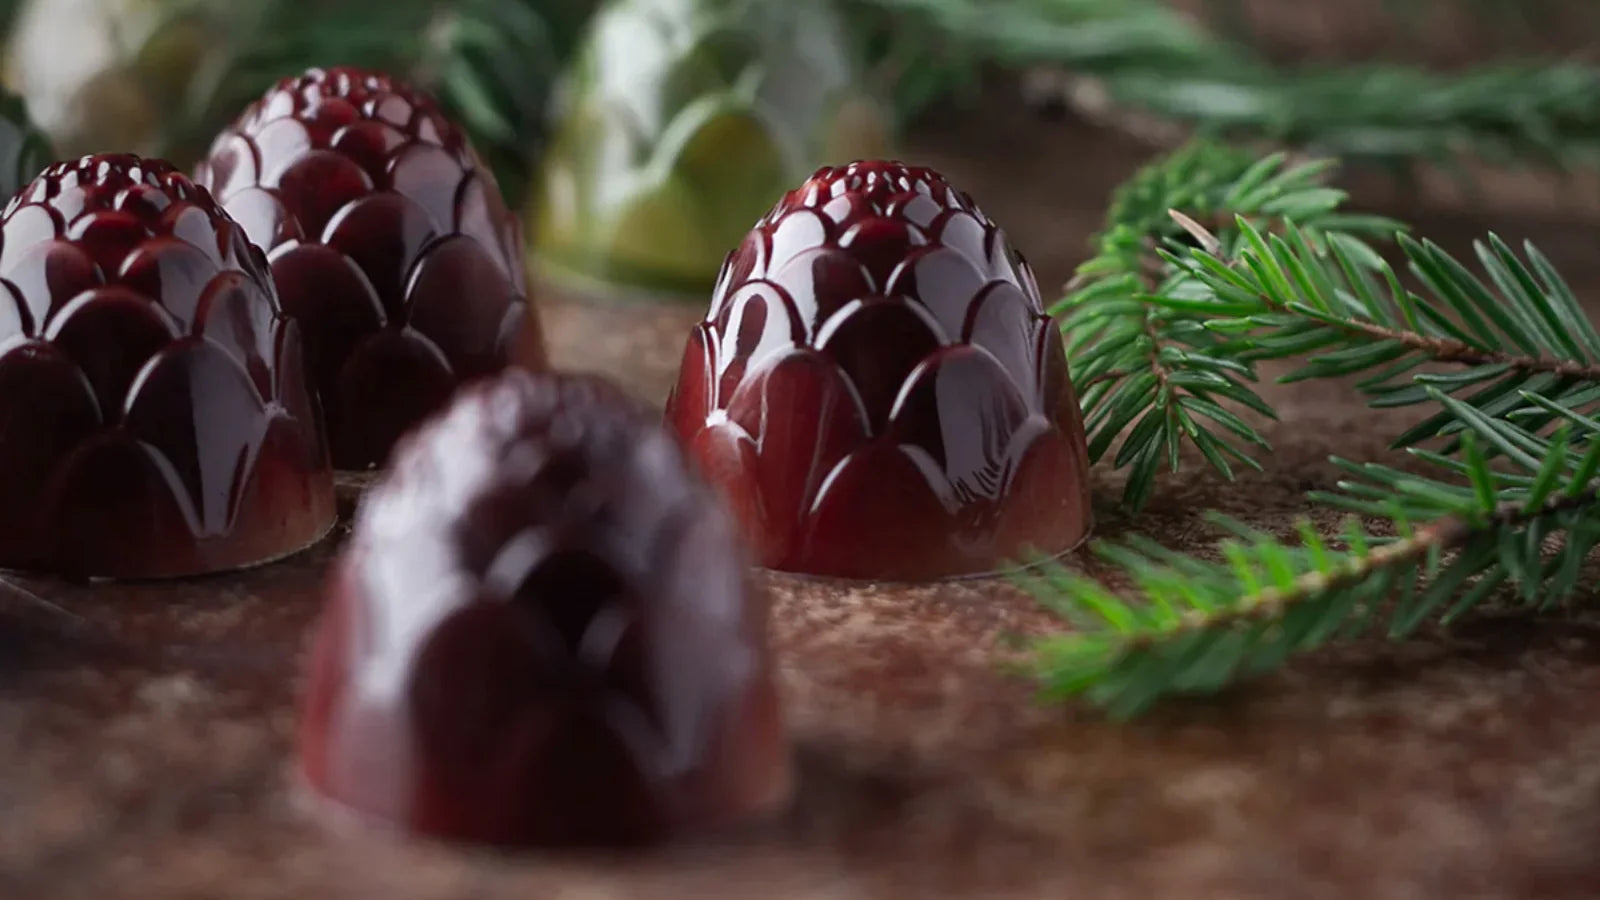
Tempering chocolate is the secret behind the glossy shine, crisp snap, and smooth texture of professional-quality chocolates. Whether you're molding bonbons, coating truffles, or making bars, mastering this essential technique transforms your creations from good to exceptional.
🥣 What Is Chocolate Tempering?
Tempering is the process of heating and cooling chocolate to specific temperatures so that cocoa butter crystals stabilize in their most desirable form (Form V). Proper tempering ensures chocolate sets evenly, looks beautiful, and melts cleanly in the mouth.
🌡️ Ideal Temperatures for Tempering Chocolate
Each type of chocolate requires a slightly different temperature range:
| Type | Melt To | Cool To | Work At |
|---|---|---|---|
| Dark Chocolate | 50–55 °C / 122–131 °F | 27–28 °C / 80–82 °F | 31–32 °C / 88–90 °F |
| Milk Chocolate | 45–50 °C / 113–122 °F | 26–27 °C / 79–81 °F | 29–30 °C / 84–86 °F |
| White Chocolate | 45 °C / 113 °F | 25–27 °C / 77–81 °F | 28–29 °C / 82–84 °F |
🧰 Equipment You’ll Need
- Digital thermometer or infrared thermometer
- Rubber spatula or scraper
- Heatproof bowl
- Marble slab (optional, for tabling method)
- High-quality couverture chocolate
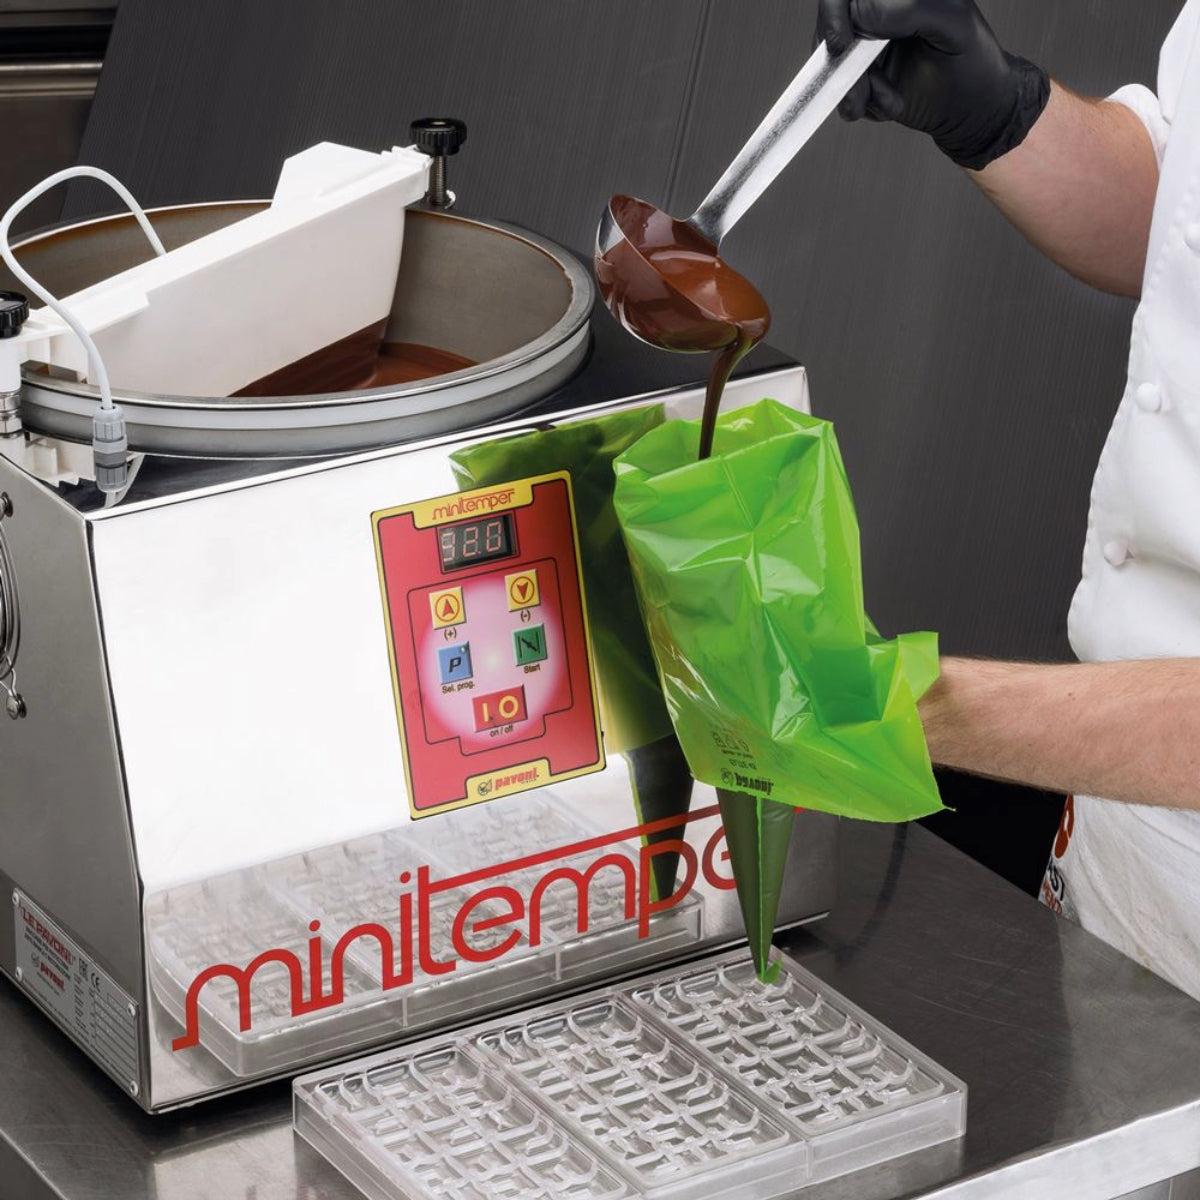
- Tempering machine (optional for consistent results)
🪄 Step-by-Step Tempering Process
- Chop the Chocolate: Use finely chopped couverture chocolate for even melting. Avoid large chunks—they overheat or burn.
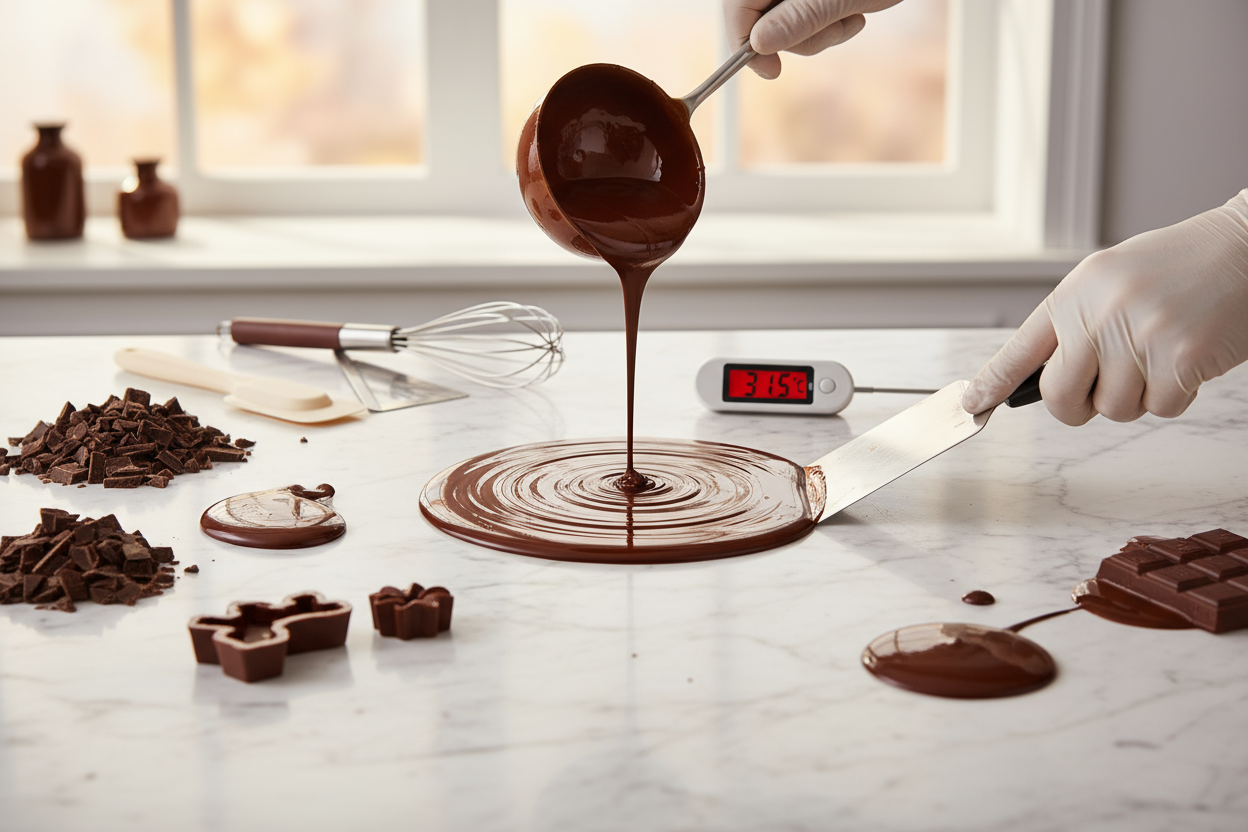
- Melt the Chocolate: Gently heat using a double boiler or tempering machine until it reaches the “Melt To” temperature. Stir constantly to prevent scorching.
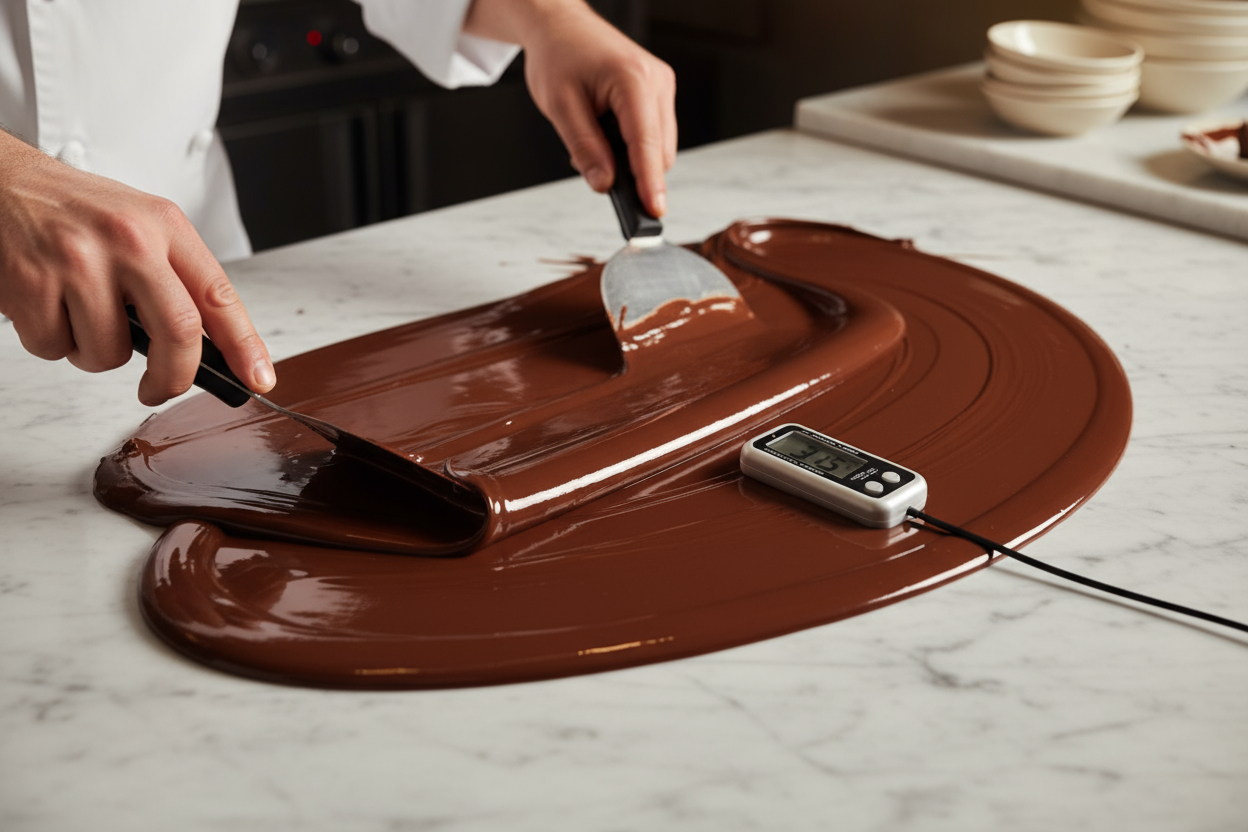
- Cool the Chocolate: Remove from heat and cool it to the “Cool To” temperature, either by adding unmelted chocolate (seeding method) or working on a marble slab (tabling method).
- Reheat to Working Temperature: Gently warm the chocolate to the “Work At” temperature range. Stir continuously for a smooth, glossy texture.
- Test the Temper: Dip a knife tip or small spoon into the chocolate and let it rest for 3–5 minutes. Properly tempered chocolate sets evenly with a shiny finish and firm snap.
- Use Immediately: Pour into molds, coat truffles, or drizzle over desserts. Keep chocolate within working temperature to maintain temper while you work.
🧠 Tips for Consistent Results
- Use a digital thermometer—precision is everything.
- Work in a cool, dry room (18–22 °C / 65–72 °F).
- Ensure no water or steam touches the chocolate—it will seize.
- Use couverture chocolate for best results (high cocoa butter content).
- For frequent production, use a professional tempering machine to maintain temperature automatically.
⚠️ Common Tempering Mistakes
- Dull or streaky finish: The chocolate was too warm or cooled too quickly. Re-temper.
- White spots (fat bloom): Unstable cocoa butter crystals. Proper cooling prevents this.
- Grainy texture: Overheating or contamination with moisture.
- Sticky chocolate: Humidity too high during setting or storage.
🏁 Final Thoughts
Perfect tempering combines science and art. Once you understand the temperature curves and crystal behavior, you’ll create professional-quality chocolate every time. Practice, patience, and precision are key to success.
Explore professional tempering machines, molds, and couverture chocolate at Zucchero Canada — your trusted source for premium pastry and chocolate equipment in North America.


Leave a comment
All comments are moderated before being published.
This site is protected by hCaptcha and the hCaptcha Privacy Policy and Terms of Service apply.